There is no doubt that Elementor is the best WordPress page builder in the market right now. But while working with Elementor section columns building blocks, you may need some help with your layout.
At some point, users struggle to put 2 button side by side in the Elementor page builder. But not any more!
Read Also: How to Set 2 column side by side on Mobile in Elementor
Elementor place buttons side by side Problem
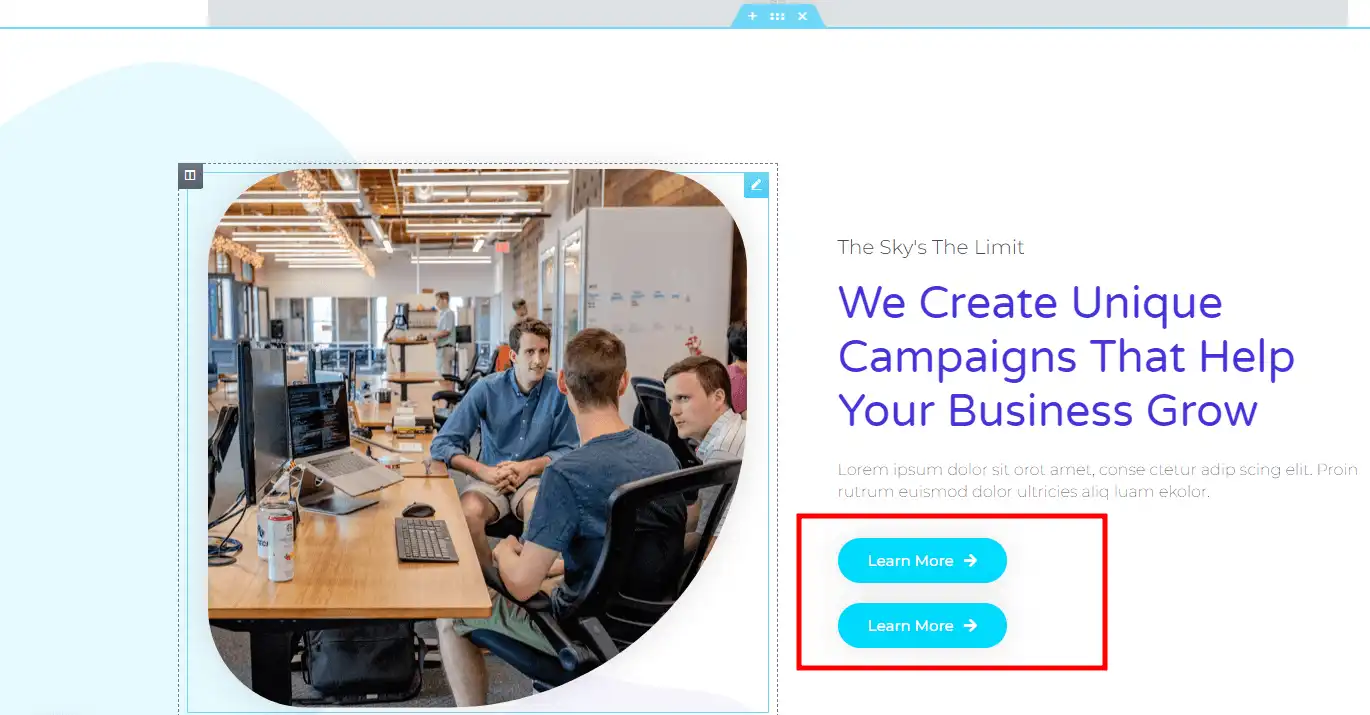
As you can see below, I have created an Elementor section with two columns. But when I try to add two buttons on the same row, the second button is laid out on the second row.
Let's see how we can put two buttons side by side in Elementor.
Method 1: Place buttons using inline (auto) Width option
Here are a few steps to fix this alignment issue:
1: Select both of your buttons one by one and Go to the advanced tab.
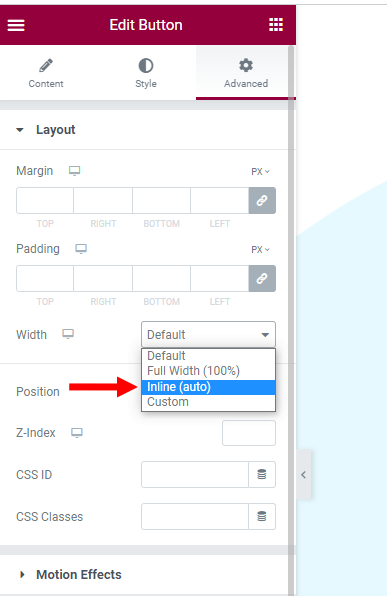
2: Then go to the width option and select the inline (auto) from the menu.
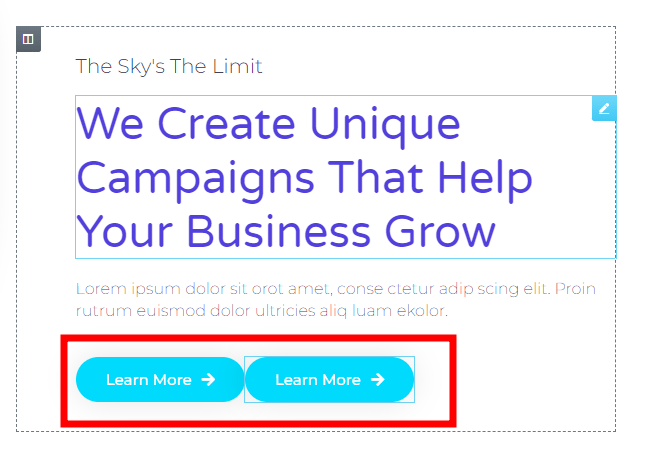
Now the buttons are on the same line, but the problem is they are too close to each other.
3: Select the 2nd button, uncheck the margin, and give a 15px margin from the left side to create the space between the two buttons.

Method 2: Using Elementor inner section inside inner section
The 2nd way to place buttons side by side in Elementor is to use the inner section within your parent (main) section.
1: Add the inner section to your main section.
2: By default, the inner section has two columns. Duplicate the column if you need more columns in the same row (in case you want to add three button side by side).
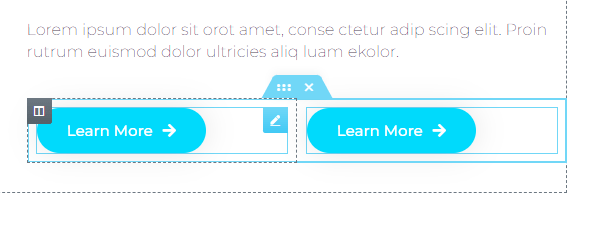
3: Increase the second column width to make the button looks good without extra space.

Method 3: Using Elementor Flexbox Container Feature
Elementor page builder introduced a powerful feature that helps you to create an advanced responsive layout with the new flex container element.
Step 1: Ensure you activate the flex container feature by going to the elementor setting -> features.
Step 2: After activating this feature, you will find the Container element under the layout tab. Drag the element where you want to add two buttons horizontally.
Note: Elementor container also works perfectly within your existing section and columns layout.
Step 3: Add your two buttons to the container element. As you can see, the buttons are not in the same row.
Step 4: to enable the Flex module, select the container and go to the layout tab.
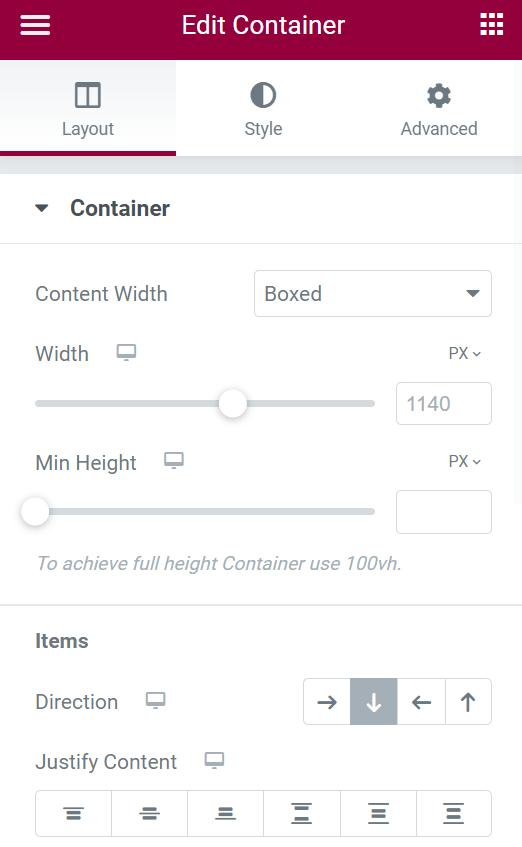
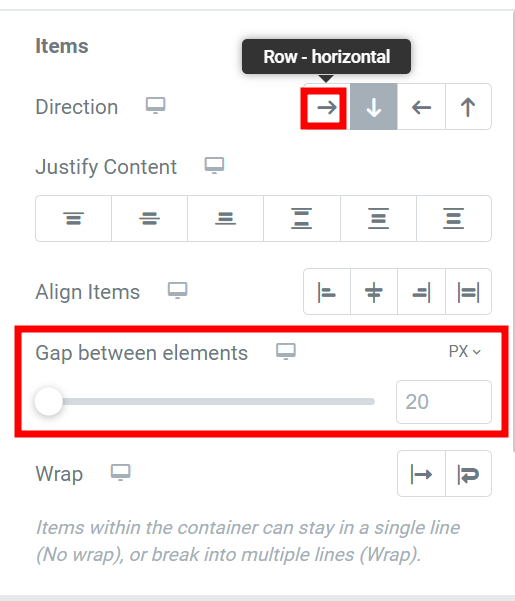
Step 5: By default, the items are in the vertical direction. Choose row to be horizontal to place the button in the same row. You can also use Gap between elements to create space between two buttons as much as you want!
Final Thoughts
You can place the button in any direction using these three methods, especially the elementor flex container feature.
Happy learning with Elementor, the easiest WordPress page builder ever!
